Astrophotography Primer Part 2: Gear
In this installment I'm going to go over some of the gear I use in the field, what it does and how I set it up. Please note: don't feel like you need to run out and buy all of what I have listed in this post! It gets expensive, fast. In reality all you need to get started is some sort of camera with manual controls and a decent tripod. I'm also only going to really go over the basics. Once you get deeper into astro work you'll probably want to add things like an auto-guider and acquisition laptop to the mix.
First things first, you do need a camera with manual controls. Shooting at night will severely confuse whatever metering system your camera has. Something with a tripod socket as well. Beyond that anything is fair game. APS-C, full frame, m4/3s, etc are all fine. It just depends on what type of imaging you want to do. Generally full frame is better for wide field while the smaller sensors do better with small telescopic objects. Personally I have both APS-C and full frame, eventually I'd like to add a few smaller sensors to the mix too.
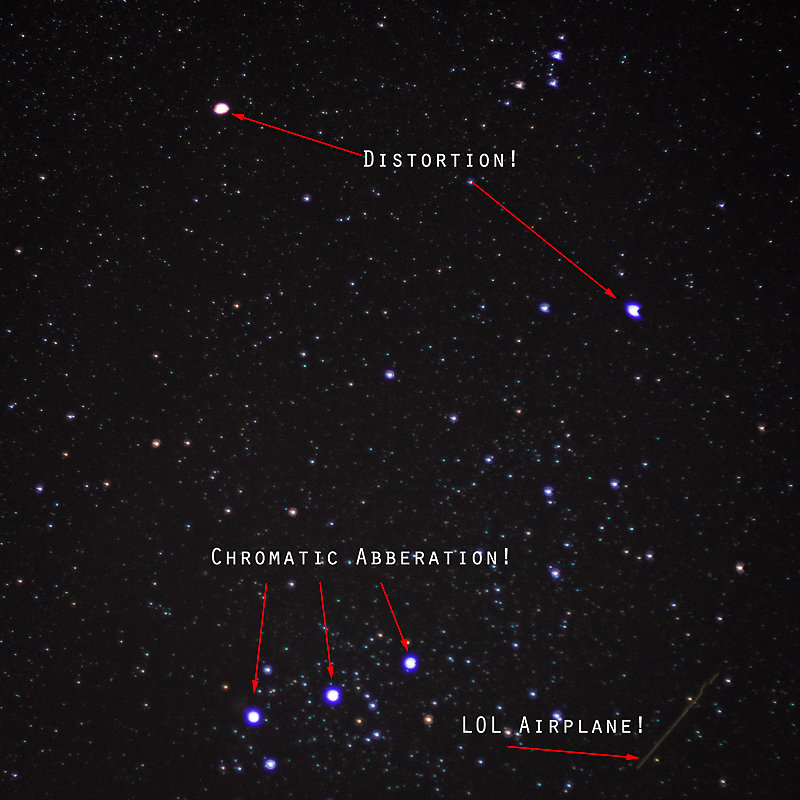
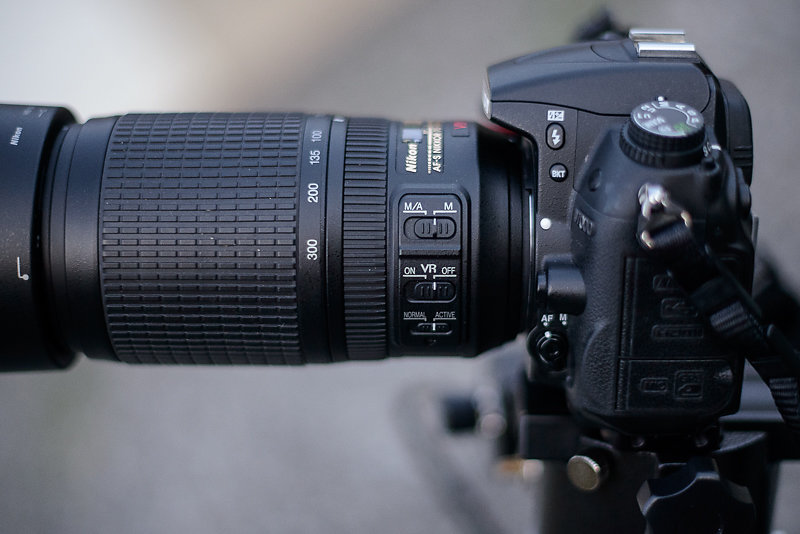
If you're using some sort of camera with interchangeable lenses you'll need some glass to put on that mount. Most people assume that fast lenses are the best for astrophotography and run out, buy ultra-fast primes and shoot them wide open. That's all well and good for terrestrial subjects however stellar objects are a different story. You see, photographing bright points of light on a nearly perfectly black backdrop is a pretty hard task for any lens. Prime lenses are generally especially bad with distortion, chromatic aberration and field curvature when used at their widest aperture. There are a few exceptions, but by and large you're better off closing down a stop or two. This will help alleviate some of the nasty distortions and color fringing. I'm not saying prime lenses are no good for astro work, I use them all the time, just be aware that shooting your 50mm at f/1.4 won't give you good results. Below is an example of what kind of distortion you'll get out of a wide open fast prime. More than likely you'll need to manually focus your lens as well. Most modern lenses do not have a hard focus stop at infinity and the ones that do are sometimes a little off. I usually use Live View on my camera zoomed in on a star and focus the camera that way. You'll want to make the stars as pinpoint as possible and sometimes that'll be harder than others.
If you're using a longer lens (I usually notice it at 300mm at up) you'll probably see the stars sort of shaking on the screen as currents in the atmosphere move around. This is called seeing by astronomers. During a night with good seeing the stars will appear as pinpoints. Conversely on a night with bad seeing the stars will appear as smeared out disks and sometimes the turbulence in the atmosphere will cause them to shake in the view. The longer the focal length of the telescope or lens the more intensified the effects are. Sometimes on nights you can't really use a larger scope you can get away with some imaging at middle to wide focal lengths just fine.
Just doing star trails? Go pick up a solid tripod and ballhead. I like Induro as they seem to have the bang for buck ratio down. A wobbly $20 Wal-Mart wonder isn't going to work.
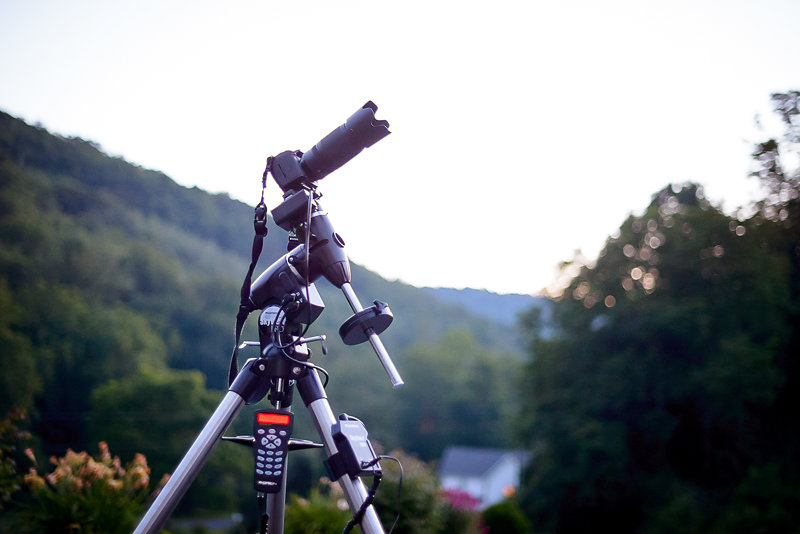
This brings us to tracking the night sky. Well, rather you'll be counteracting the motion of the Earth. There are a few options here. For the casual astrophotographer or someone looking for a lightweight solution for travel I like the iOptron SkyTracker. It's fairly inexpensive, small and comes with a polar alignment scope. The one limitation is its weight capacity. You're not going to be loading it down with a large lens or telescope. I've heard of folks using a DSLR and 70-200mm zoom with it before but I'd wager that's pushing it. Vixen makes a similar mount called the Polarie and I have a passing familiarity with it as well. As with most things the time spent in preparing is way more important than anything else, this includes aligning the mount. Most polar alignment scopes come with markings for aligning with different constellations in different times of the year. If your alignment isn't spot on you'll get some drift during exposures. It takes practice and some time so plan about 30 extra minutes or more for your first few outings.
For more serious astrophotographers, mainly those who want to use a big lens or a telescope, I recommend picking up some sort of equatorial mount. I own an Orion SkyView Pro GoTo and it will hold up to about an 8" Schmidt-Cassegrain, camera and supporting equipment. I generally like Orion's stuff, but Celestron makes decent mounts too. You can buy a equatorially mounted telescope and use the mount for general wide field work as most equatorial mounts use a dovetail mount that is fairly universal. I'd stay away from driven fork mounts or alt-az mounts as those suffer from field rotation during longer exposures. They're fine for visual use though. As with most things it seems most manufacturers overstate the load capacity of their equatorial platforms. As a safety measure I wouldn't try to load a mount with more than about 75% of it's rated capacity and that I feel is generous, 50% is probably a better number to work with. Loading it to 100% more than likely won't send it crashing to the ground but a strained mount isn't a very sturdy mounting. You'll end up with a lot of bad shots and trailing due to slipping and the motors struggling to keep up. Keep in mind these things are big, heavy and take a long time to setup or take down. You aren't going to be backpacking with most of these mounts. Get a smaller iOptron or Vixen for that.
Next up we'll talk about post processing.